Mold infestation is a common issue that can have serious consequences for your health and property. Whether it’s caused by water damage, high humidity, or poor ventilation, addressing mold promptly and effectively is crucial. In this guide, we’ll walk you through the essential steps for mold remediation, ensuring a safe and healthy environment for you and your family.
Understanding Mold and Its Risks
What is Mold?
Mold is a type of fungus that thrives in damp, warm, and humid environments. It reproduces through tiny spores that float in the air and can settle on various surfaces. Common areas where mold grows include bathrooms, basements, kitchens, and areas affected by water damage. While some molds are harmless, others can pose significant health risks and damage your property.
Health Risks Associated with Mold Exposure
Exposure to mold can lead to a variety of health issues, particularly for individuals with allergies, asthma, or weakened immune systems. Symptoms may include respiratory problems, skin irritation, and eye discomfort. Prolonged exposure can exacerbate these conditions and even lead to more severe health complications. This makes mold remediation not just a property concern but a health priority.
Essential Steps for Mold Remediation
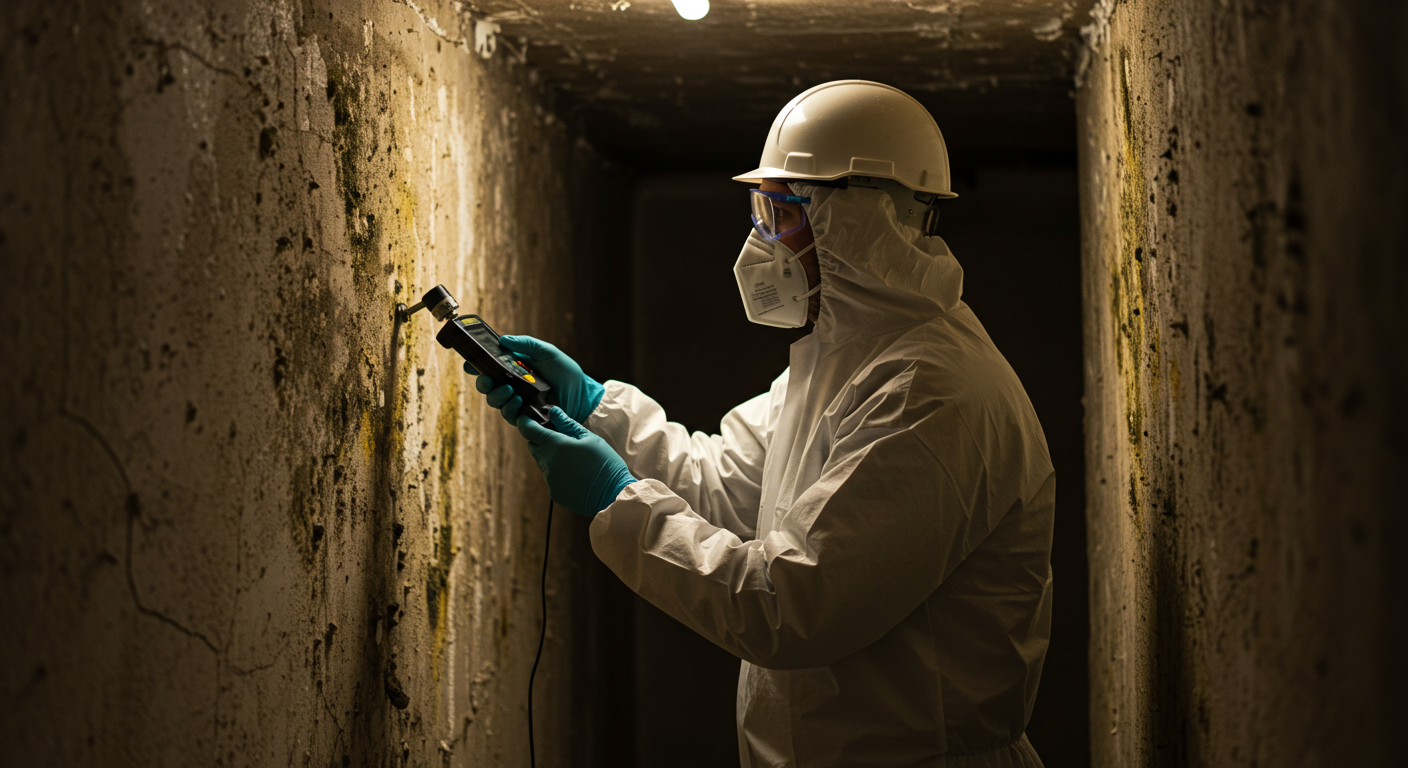
Step 1: Assessment of Mold Contamination
The first step in mold remediation is identifying the extent of the problem. Conduct a thorough inspection of your property, focusing on areas prone to moisture. Use tools like moisture meters and infrared cameras to detect hidden mold. Professional mold inspectors can provide a detailed assessment and help identify the root cause of the issue.
Step 2: Addressing Moisture Issues
Mold cannot thrive without moisture. Addressing the source of moisture is critical to preventing mold from returning. This may involve fixing leaks, improving ventilation, or using dehumidifiers to maintain optimal indoor humidity levels. Without resolving the moisture issue, any remediation efforts will be temporary.
Step 3: Isolating Contaminated Areas
To prevent mold spores from spreading to unaffected areas, it’s essential to isolate the contaminated zones. Use plastic sheeting and tape to seal off the area, and ensure proper ventilation by using HEPA filters. This step is particularly important when dealing with extensive mold infestations.
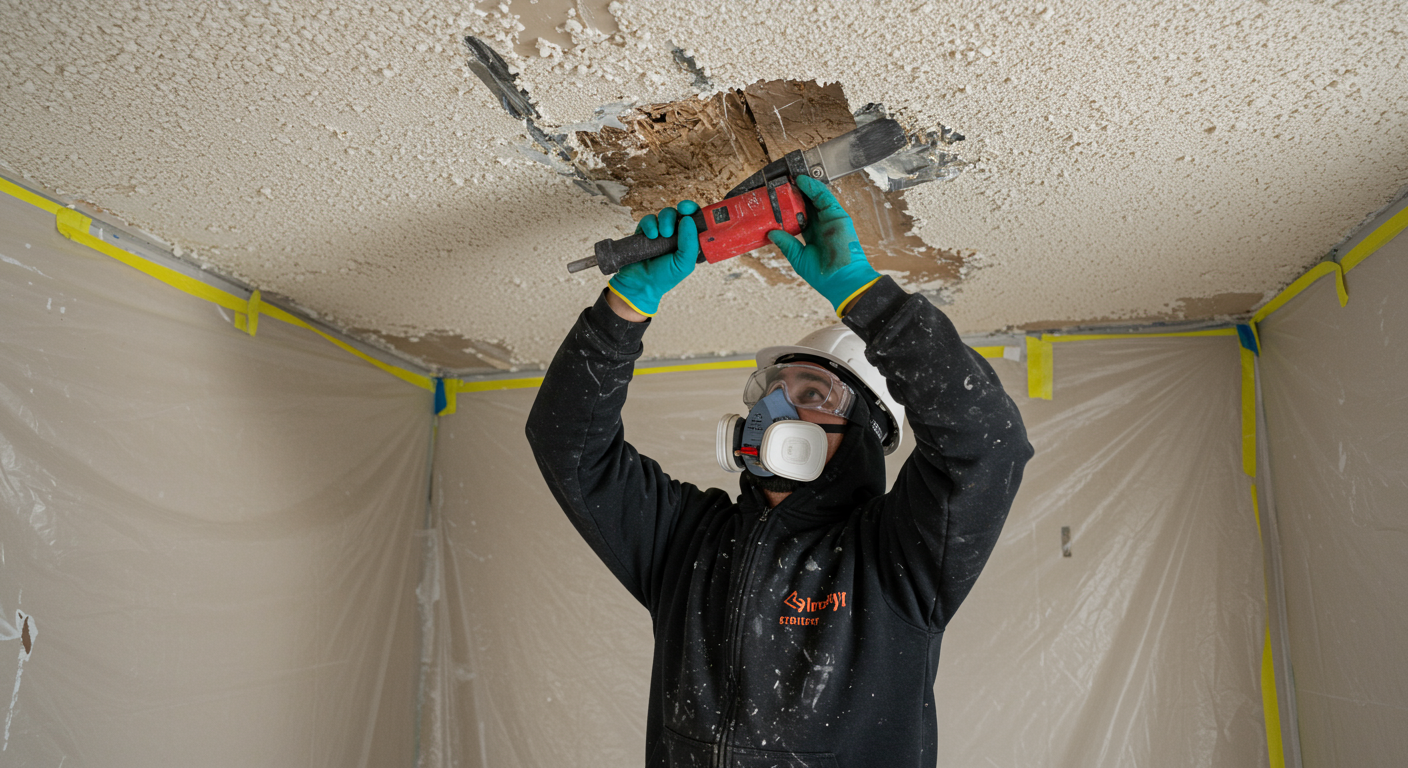
Step 4: Removing Damaged Items
Items that have been heavily contaminated by mold, such as carpets, drywall, and insulation, may need to be removed and discarded. Be cautious when handling these materials, as disturbing them can release mold spores into the air. Always wear protective gear during this process.
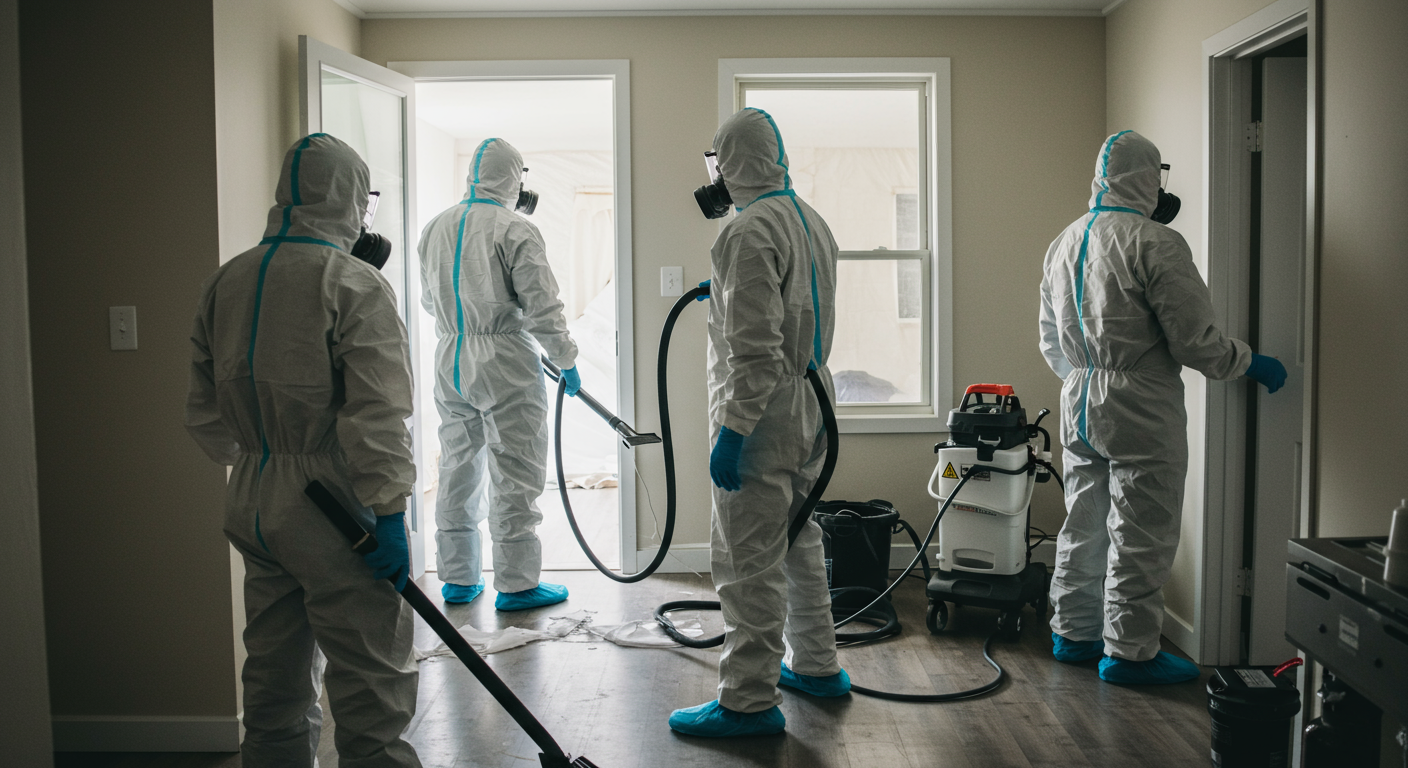
Step 5: Cleaning the Affected Area
Once the contaminated materials are removed, clean the affected surfaces thoroughly. Use specialized cleaning agents designed for mold removal, such as biocides or fungicides. Scrub non-porous surfaces with a stiff brush and wipe down porous materials with a damp cloth. Ensure the area is completely dry after cleaning to prevent mold from regrowing.
Step 6: Encapsulation for Future Prevention
Encapsulation involves applying a sealant to surfaces prone to mold growth. This creates a barrier that prevents mold spores from settling and thriving. Encapsulation is particularly useful for areas like basements and crawl spaces, where moisture levels are harder to control.
Step 7: Final Inspection and Testing
After completing the remediation process, conduct a final inspection to ensure all mold has been removed. Air quality testing can confirm that mold spore levels are within safe limits. This step provides peace of mind and ensures the effectiveness of your remediation efforts.
Step 8: Restoration and Repairs
The final step is restoring your property to its original condition. This may involve repairing drywall, repainting walls, or replacing flooring. Ensure that all repairs are done with materials resistant to mold and moisture to prevent future issues.
Safety Precautions During Mold Remediation
Personal Protective Equipment (PPE)
Safety should always come first during mold remediation. Wear personal protective equipment (PPE), including gloves, masks, goggles, and coveralls, to protect yourself from mold spores and cleaning chemicals. Proper PPE minimizes the risk of exposure and ensures a safer cleanup process.
Ventilation and Air Quality Control
Maintaining good ventilation is crucial during mold remediation. Use air purifiers with HEPA filters to capture airborne mold spores and improve indoor air quality. Avoid using fans, as they can spread mold spores to other areas of your home.
When to Call a Professional for Mold Remediation
Signs You Need Expert Help
While small mold infestations can often be handled with DIY methods, larger or more severe cases require professional intervention. Signs that you need expert help include extensive mold growth, structural damage, or recurring mold issues despite previous remediation efforts.
Benefits of Hiring a Mold Remediation Specialist
Professional mold remediation specialists have the expertise, tools, and experience to handle even the most challenging cases. They can provide a comprehensive solution, from assessment and cleanup to prevention and restoration. Hiring a specialist ensures the job is done safely and effectively, saving you time and stress.
For trusted local experts in mold remediation, check out Mold Restoration Near Me in New Orleans, LA: Trusted Local Experts for a Healthier Home.
Mold remediation is a multi-step process that requires careful planning and execution. By following these steps and prioritizing safety, you can effectively address mold issues and create a healthier living environment. For more information on mold removal costs, visit Comprehensive Guide to Mold Removal Costs in New Orleans, LA: What You Need to Know.